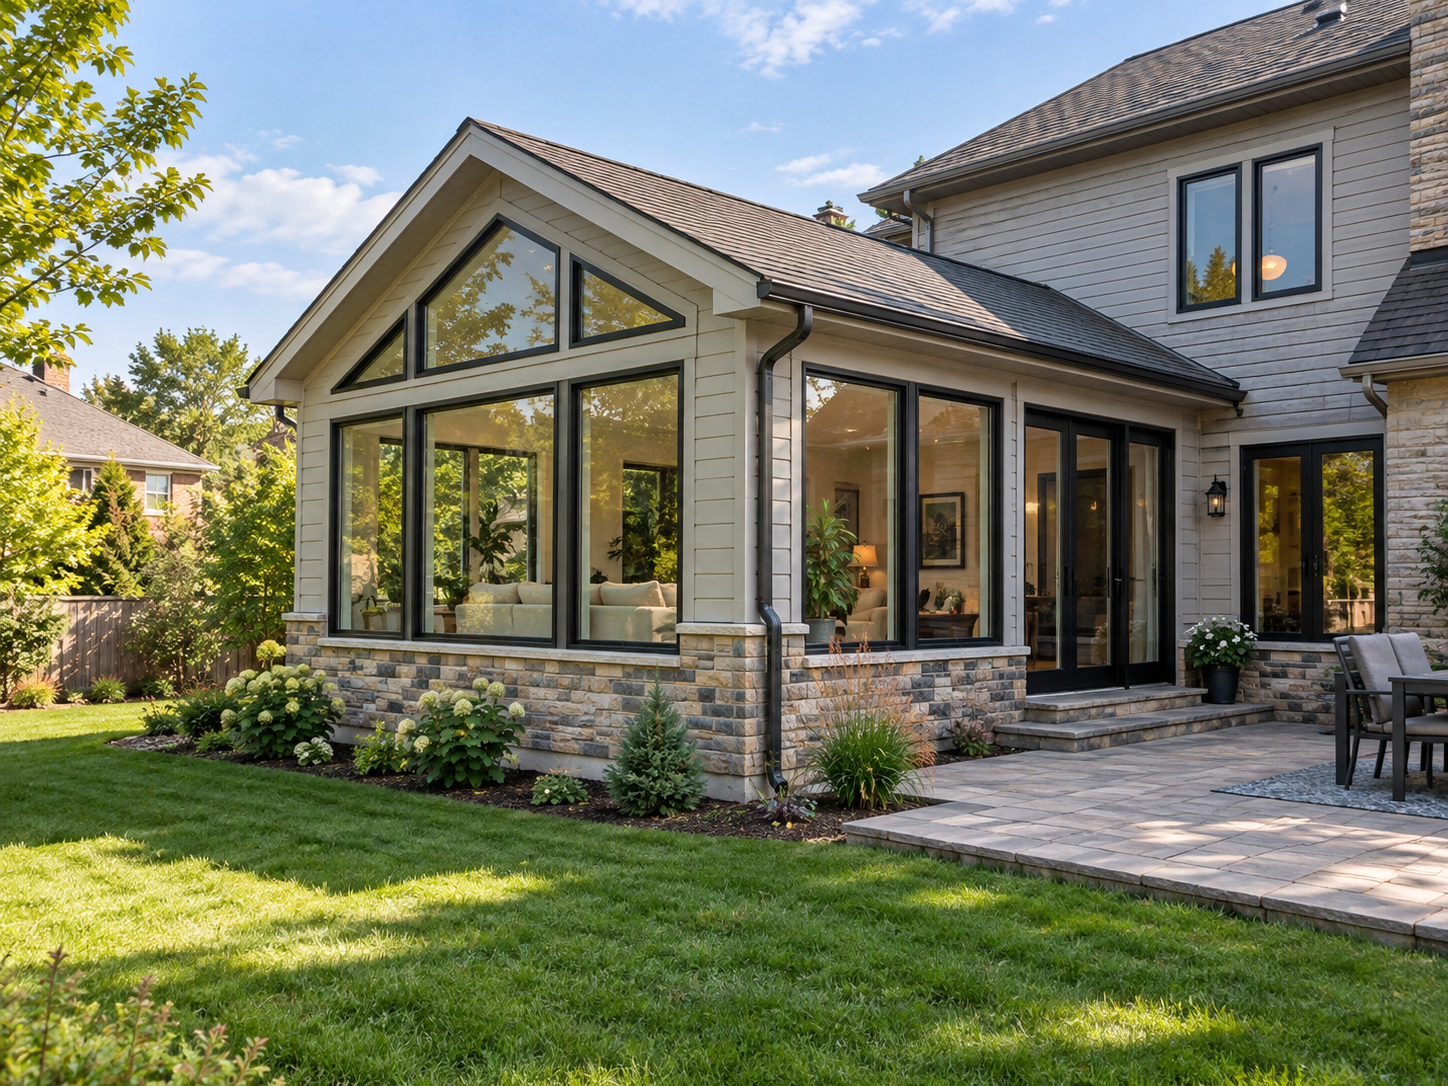
Planning a home addition starts well before construction. First, define what the new space needs to accomplish, then check zoning and site restrictions to see what can actually be built. Once the scope and budget are realistic, the project moves through design, structural planning, permits, contractor selection, construction and inspections.
The exact zoning rules, drawings, permits, professional licensing requirements and inspection sequence depend on the state and local jurisdiction, so the process should always include an early check with the local planning and building departments.
| Stage | What happens |
|---|---|
| 1. Goals | Define what the new space needs to do |
| 2. Feasibility | Check zoning, setbacks and site constraints |
| 3. Budget | Set the total project budget and contingency |
| 4. Design | Develop the layout and exterior concept |
| 5. Engineering | Resolve structural and building-system issues |
| 6. Permits | Prepare and submit required documents |
| 7. Contractor | Compare bids based on the same scope |
| 8. Construction | Move from site work through finishes |
| 9. Inspections | Complete required inspections and final approval |
Step 1. Define What the Addition Needs to Do
Do not start by choosing an arbitrary number of square feet. Start with the problem you are trying to solve.
The addition might provide:
- another bedroom;
- a home office;
- a larger kitchen;
- a family room;
- a primary suite;
- a bathroom;
- space for relatives.
Think about who will use the room, whether it needs plumbing, how much privacy is required and how it should connect to the existing house.
Also ask whether the problem could be solved by reorganizing space you already have. A poorly planned addition can increase the size of a house without making the existing layout work any better.
Once the function is clear, it becomes much easier to estimate the size and decide which type of addition makes sense.
Step 2. Decide What Type of Addition Makes Sense
A ground-level addition expands the house outward and is commonly used for bedrooms, family rooms, kitchen extensions and primary suites. It requires enough buildable space on the lot.
A bump-out is a smaller extension of an existing room. Depending on the project, it may add useful space without functioning as an entirely new room.
A second-story addition increases floor area without consuming more yard space, but it raises important questions about the capacity of the existing foundation and framing.
A larger room or wing addition may contain one or several new spaces and can affect circulation, utilities and the exterior form of the house.
Do not assume that building up is always cheaper than building out, or the reverse. Structural conditions, foundation work, site access, utilities and the amount of reconstruction inside the existing house can change the economics of either option.
Step 3. Check Zoning and Site Constraints Before Designing
Before paying for a detailed design, find out what the property allows.
Depending on the jurisdiction, relevant limits may include:
- front, side and rear setbacks;
- maximum lot coverage;
- building height;
- floor-area limits;
- easements;
- property boundaries;
- flood-zone requirements;
- historic-district restrictions;
- HOA rules.
A property line is not the same as a buildable line. A house may need to remain several feet inside the boundary because of setbacks, and utilities or easements can further restrict where an addition can go.
Start with the local planning or zoning department and the building department. If the boundaries are uncertain, a current survey may also be needed.
Doing this before finalizing the floor plan can prevent an expensive redesign later.
Step 4. Set a Realistic Home Addition Budget
There is no useful nationwide price that tells every homeowner what an addition will cost. A small bedroom extension in one market and a two-story suite with plumbing in another can have completely different budgets.
Cost is affected by:
- size;
- location;
- foundation type;
- number of stories;
- structural alterations;
- plumbing and electrical work;
- HVAC changes;
- site access;
- finish level;
- complexity of joining the addition to the existing house.
The construction contract is also not the entire project budget.
Allow for design, engineering, surveys when needed, permits, demolition, construction, finishes and any temporary living arrangements. Long-lead products such as windows or specialty doors can affect both cash flow and schedule.
Keep part of the available budget outside the original construction scope rather than committing every dollar at the beginning. Existing houses can reveal conditions that were difficult to see before work started.
Step 5. Evaluate the Existing House
A home addition depends on the building it connects to.
Before design goes too far, the project team may need to evaluate the existing:
- foundation;
- framing;
- roof;
- exterior walls;
- plumbing;
- electrical service;
- HVAC system;
- drainage;
- utility connections.
This is especially important for a second story or any project that removes load-bearing walls or creates large new openings.
The model International Residential Code provides a useful general principle: additions are treated under requirements applicable to new construction, but that does not automatically mean the entire existing house must be rebuilt to current standards. The adopted code and local amendments still have to be checked for the actual project. International Code Council — 2024 IRC
In other words, do not assume either extreme: that the old house must all be upgraded, or that the addition has no effect on existing systems.
Step 6. Choose the Right Design and Construction Team
There is no single professional setup that works for every addition.
One option is to hire an architect or residential designer for the design and then hire a general contractor for construction.
Another is a design-build firm, where design and construction are managed within one organization.
A structural engineer may become important when the project involves:
- a second story;
- foundation changes;
- load-bearing walls;
- large openings;
- beams;
- major roof or framing modifications.
Do not assume every addition legally requires an architect, but do not assume a small project never does either. Rules about licensed professionals and stamped drawings vary.
Ask the local building department what documents and professional seals are required for the scope you are considering before deciding how to assemble the team.
Step 7. Design the Home Addition
Good addition design is about more than choosing the appearance of the new room.
Consider:
- circulation between existing and new spaces;
- room proportions;
- windows and natural light;
- privacy;
- ceiling heights;
- furniture placement;
- storage;
- roof connections;
- exterior materials;
- plumbing locations;
- HVAC;
- floor elevations.
Look at the old and new plans together.
For example, adding a large bedroom is not especially useful if the only route to it runs awkwardly through a dining area. A successful layout should make the house function more coherently after the work is finished, not merely increase the recorded square footage.
The exterior needs the same attention. Roof lines, windows, siding, trim and proportions should be resolved before construction instead of becoming last-minute decisions in the field.
Step 8. How to Draw Plans for a Home Addition
A homeowner sketch and a permit-ready drawing set are not the same thing.
You can begin with a simple concept showing:
- the existing floor plan;
- the approximate new space;
- rough dimensions;
- doors and windows;
- relationships between rooms;
- basic furniture placement.
That is useful for explaining what you want and comparing layout ideas.
Permit and construction documents can be much more detailed. Depending on the project and local requirements, they may include:
- existing and proposed floor plans;
- site plan;
- elevations;
- foundation plan;
- roof plan;
- sections;
- framing information;
- structural details;
- electrical, plumbing or mechanical information;
- energy-code documentation.
Some jurisdictions may accept homeowner-prepared documents for certain projects; others require drawings or calculations prepared or stamped by licensed professionals.
So drawing a floor plan in an app is a useful first step, but it does not automatically create a complete permit package.
Step 9. Get the Required Permits
A substantial home addition will commonly involve building approval, but the exact permits depend on the location and scope.
A project may require approvals covering:
- building work;
- zoning;
- electrical systems;
- plumbing;
- mechanical work.
Energy-code documentation can also form part of the process. The U.S. Building Energy Codes Program provides REScheck as one method used to demonstrate residential energy-code compliance for new homes, additions and alterations under supported energy codes. Building Energy Codes Program — REScheck
Your jurisdiction may use a different process or require additional documentation.
Do not begin foundation work simply because the drawings appear complete. Confirm that all approvals required before construction have actually been issued and clarify who — homeowner, designer or contractor — is responsible for obtaining and closing each permit.
Step 10. Compare Contractors Using the Same Scope
Contractor pricing is useful only when the proposals describe roughly the same project.
Give bidders the same plans, specifications and finish assumptions whenever possible.
Review:
- licensing where required;
- insurance;
- experience with additions;
- references;
- included work;
- exclusions;
- allowances;
- payment schedule;
- change-order process;
- estimated schedule;
- responsibility for permits;
- cleanup;
- warranties.
A proposal that appears much cheaper may simply cover less work.
Look especially closely at allowances. A bid can seem competitive because it assumes inexpensive finishes or leaves uncertain work outside the base price.
The goal is not just to compare totals. It is to understand what each total actually buys.
Step 11. Prepare for Construction
Before crews arrive, think through how construction will affect daily life.
Discuss:
- site access;
- material storage;
- protection of existing rooms;
- dust barriers;
- worker access;
- pets and children;
- temporary loss of a kitchen or bathroom;
- whether the house can remain occupied;
- delivery and dumpster locations.
Older homes require another check. Renovation work that disturbs painted surfaces in pre-1978 housing can create hazardous lead dust. EPA’s Renovation, Repair and Painting rules apply to covered paid renovation work, and EPA recommends using lead-safe practices and qualified contractors when relevant. U.S. EPA — Lead Renovation, Repair and Painting Program
Lead safety is only one example of why the existing house should be assessed before demolition begins.
Step 12. Build the Addition
Once plans and approvals are in place, construction can begin.
A typical high-level sequence might look like this:
- Site preparation
- Excavation
- Foundation work
- Framing
- Roof and exterior enclosure
- Windows and exterior doors
- Plumbing, electrical and HVAC rough-ins
- Required rough inspections
- Insulation and air sealing
- Drywall
- Interior finishes
- Fixtures
- Exterior finish work
- Final inspections
The exact sequence will vary. Some trades overlap, weather can affect exterior work, and inspections may need to occur before specific assemblies are covered.
This is why the construction schedule should be coordinated around the actual plans and local inspection process rather than copied from a generic timeline.
Step 13. Coordinate the New Addition With the Existing House
One of the most important parts of an addition is the junction between old and new construction.
Pay attention to:
- structural connections;
- roof intersections;
- flashing;
- water drainage;
- floor elevations;
- insulation;
- air sealing;
- HVAC;
- electrical capacity;
- exterior finishes.
Small details at these transitions can create large problems later if they are not resolved during design.
HVAC deserves particular attention. Do not assume the existing system can condition the extra space simply because ducts can physically be extended into it. The additional heating and cooling load and the capacity of the existing equipment should be evaluated.
The same logic applies to electrical and plumbing systems: available capacity should be confirmed rather than assumed.
Step 14. Inspections and Final Walkthrough
The addition is not finished just because the walls are painted and the flooring is installed.
Depending on the jurisdiction and project, inspections may occur at stages such as:
- foundation;
- framing;
- rough electrical;
- rough plumbing;
- mechanical work;
- insulation;
- final completion.
Confirm the required sequence before construction so work is not covered before an inspector needs to see it.
Near completion, walk through the project with the contractor and create a punch list of incomplete work, damage, adjustments or corrections.
Before final payment, confirm what final approvals, inspection records, warranties and closeout documents you are supposed to receive.
Common Home Addition Mistakes to Avoid
Designing Before Checking Zoning
A detailed plan has little value if setbacks or another site restriction prevent it from being built as drawn.
Using the Entire Budget for the Original Scope
Leave room for conditions that become visible only after demolition or excavation.
Comparing Bids That Cover Different Work
Two prices are not directly comparable if one includes permits, demolition and finishes while another excludes them.
Planning the Addition in Isolation
The project has to connect to the existing structure, roof, utilities, HVAC and floor plan. Those connections belong in the design phase.
Making Major Design Decisions During Construction
Late changes frequently affect more than one trade and can result in change orders, rework and schedule changes.
Treating Permits as Administrative Paperwork
Plan review and inspections can expose design issues and influence both the schedule and construction sequence.
Quick Home Addition Planning Checklist
Before construction starts, confirm that:
-
The purpose of the addition is defined
-
Rough size and room requirements are established
-
Property boundaries are understood
-
Zoning and setbacks have been checked
-
The project budget includes contingency
-
The existing structure and systems have been evaluated
-
The design is complete enough for pricing and permits
-
Required structural engineering is complete
-
Permit drawings are prepared
-
Required permits are approved
-
Contractor scope and contract have been reviewed
-
Long-lead materials have been identified
-
Construction logistics have been planned
-
The inspection process is understood
The decisions made before construction usually determine how manageable the rest of a home addition becomes. Confirm the site’s constraints, settle the scope and budget, and coordinate the design, structure, systems and permit requirements before breaking ground. With those questions resolved early, contractor pricing, scheduling and construction are much easier to control.